Hey Guys,
For those of you following my pizza saga, I thought I'd pass on my pie crust.
With the pizza I've struggled for years, but am finally approaching the high
level I'm looking for. With pie crust, I can tell you straight away, that I
cracked the code for that very early on. This is THE recipe you need.
Basically, everyone says that my crust is the best they've ever had by a very,
very, very wide margin. I've taught several people this recipe and they just
can't believe the results. At the bottom I have a top 10 list explaining key differences between this recipe and most others.
Start by placing your rolling pin in the freezer, which will help later.
Equipment List
Measuring Cups
Measuring Spoons
Mixing Bowls
Gram Scale
Plastic Bags
Spray Bottle
Knife
Cutting Board
Parchment Paper
Dough Scrapper
Rolling Pin
Cold Gel Packs or Ice in bags
Scissors
Aluminum Foil
10" Pie Pan (glass preferred)
Sheet Pan
Silpat (optional)
Pie Crust
It's very simple but it does violate one of the basic rules you always see, which is that everything must be cold. Also, I don't use a machine. I mix by hand. This is for a 10 inch pie tin. I prefer glass so you can see if the top and bottom are browning at the same pace.
Ingredient Measure Units Grams Baker’s % Notes AP Flour 3.75 Cups 425 100.0% Best measured in grams but if not fluffed up with a fork before measuring Crisco 130 g 130 30.6% Crisco at room temp Unsalted Butter 215 g 215 50.6% frozen or near frozen Salt – Kosher or Sea 1.6 teaspoon 9.6 2.3% crushed by mortar and pestle or with a knife White Sugar 2 tablespoon 25 5.9% Ice Water 1 / 3 Cup 70 16.5% preferably using a spray bottle
Cut up the frozen butter into pretty thin slices (the thickness of a pat of butter or thinner) and sprinkle with a dusting from your measured flour. Leave aside.
Mix the flour in a big bowl with the sugar and salt. Add the crisco. Here's the part that seems to violate most recipes. Blend the room temp crisco into the flour THOROUGHLY by hand. Don't worry about the heat of your hands. Don't freeze the bowl and the flour and and these other things that you see in some recipes. The only things that are cold are the butter and ice water. Mix well. Every grain of flour should be coated with fat. This is what is going to make the crust tender. At this stage you can press down on the dough and you almost feel like you don't even need to add any water to it to get the crumb to stick together.
Now add the butter. Break some of the butter up with your hands. But some of it is just left in huge chunks. It should be a mix of small, medium and large. Some as large as a pat of butter. Cut it thin when it is frozen, but when mixing it, don't break it up that much more. The large pieces of butter will make the dough flaky by forming layers when it is rolled out. You will actually see large chunks of butter still visible when you roll out the dough.
This combo of Crisco and butter gives you both tender and flaky.
Let the dough rest for 1 minute. Add the water a little at a time. Mix with fork by lifting from the bottom. It's best if you hit it with a spray bottle while you fold it over but just drizzling the water in is OK too. You are hardly working it at all when you do it this way. Use a minimal amount of water and minimal mixing. You don't need to add the whole amount if you don't need to. The more water you add, the more it will shrink when you blind bake it and that's not good. I've occasionally made mine so dry that when I roll it out, it basically is falling apart and it looks terrible at first. I have to just pat the pieces back together and hope that no one even notices. But these crusts can be excellent and very flaky. I don't feel like it has to look perfect. The taste of this crust is amazing, not the look.
Divide in half and add each half to a plastic bag. The bag holding the bottom crust should have a little more in it than the one for the top, Probably 470g top & 390g bottom. Press into a pretty flat disk. This will make rolling out easier. Put in fridge for 20 minutes (No more than 30) and place something heavy on it.
Keeping everything cold helps to get the crust to release from the paper. Leave cold gel packs or bags of ice on granite countertop while the crust is chilling.
Roll out between 2 pieces of floured parchment. If the parchment is slippery on the counter, place a silpat under it, if you have one. The dough may seem a little dry and crumbly, but will transform as you roll it out. Use a dough scrapper to fold the edges over towards the center. Do this a few times so that the dough becomes a little laminated with the butter. This is not fully laminated like a puff pastry or coissant, but can benenfit from a few fold overs.Roll it so that its about 2 inches bigger on all sides than you pie pan. Releasing the dough from the parchment will be easier if the dough is cold, so rub with a cold pack, ice pack or cold pan. Release the top parchement by peeling it back, then place it back over the dough, flip it and release the other side. If it's completely released on BOTH sides, it will be a lot easier to flip into the pie pan.
Place in Pie tin, draping over the sides a bit and cut around with a scissor to even out. If there's extra, use it for the top crust. Poke fork holes (this is called 'docking it') in it and blind bake it at 450F. Some recommend blind baking with a weight such as beans on it. I've found that this keeps the middle soggy. Just dock it and bake it. Cover the edge with foil to keep it from burning. When the center shows a tiny amount of color, it's done. I recommend using a glass pie pan so that you can judge the relative color of the top and bottom as it goes. You can use foil above or below the pie to keep on side from over browning while the other catche up.
Apple Pie Spice Blend
This is mostly cinnamon but contains a few other items in SMALL amounts. You are ok to just use cinnamon if you want, but this mix will kick it up a notch. The total amount of spice should be 1 LEVEL teaspoon per pie. It's tempting to go over, but don't. If you are missing an item, don't make up for it with anything.
Since the weights are so tiny it can be hard to measure. Therefore it's more accurate to make this larger mix, which can be used for for a few pies. This mix is 7 teaspoons (good for 7 pies):
- 6 Teaspoons (2 Tablespoons) Cinnamon
- 1/2 teaspoon Nutmeg. I prefer preground to freshly grated
- 1/4 teaspoon Allspice (about 12 berries)
- 1/8 teaspoon Cloves (about 6 pieces)
- 1/8 teaspoon Cardamom - Green smells sweeter and black is smokey, but too much green didn't work as well, oddly. I go with half and half
Grind in a mortal and pestle if using whole pieces.
Sugar Mixture
Prep this while the dough is Chilling.
- 240g White Sugar
- 160g Light Brown Sugar (I have tried substituting a mix of dark and white sugar and didn't like it as much)
- 1 LEVEL teaspoon Cinnamon or apple pie spice blend (do not be tempted and go over)
- 1.5 Tablespoons of Flour
- pinch of Salt
- 50g - 1/4 cup of Raisins
Apples
Prepare Apples while the bottom crust is blind baking. Wash, and Cut but DON'T PEEL.
This calls for about 1100g of apples after coring, which is about 6 apples but can vary based on size. So be prepared with a scale and measure a few times as you go.
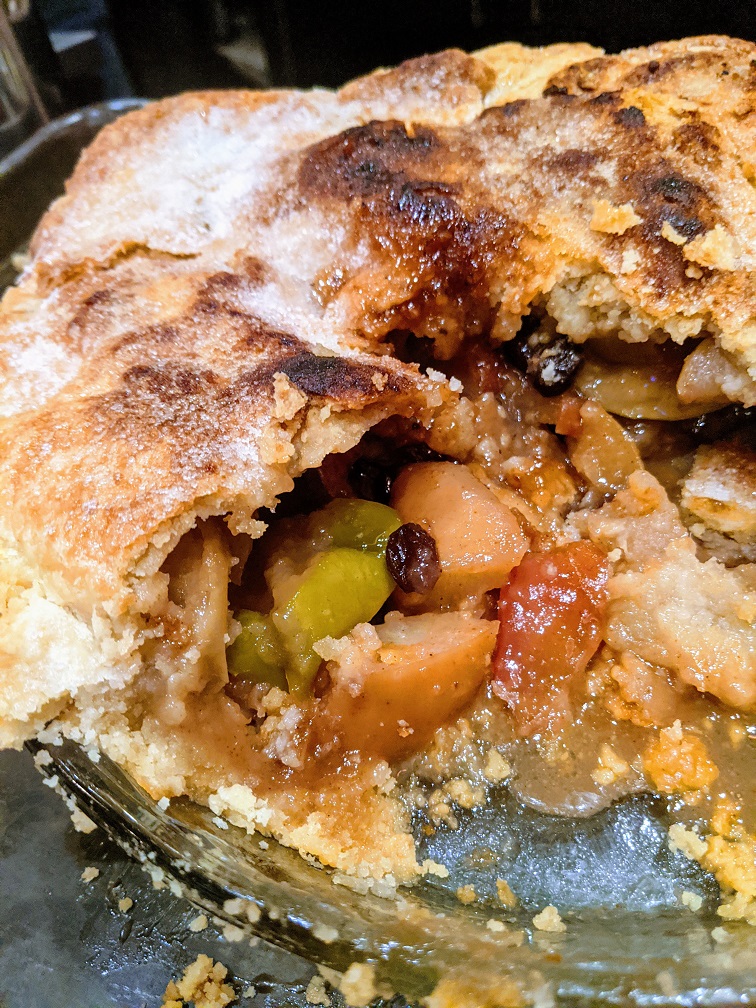
Leave the skin on the apples. It actually adds to the flavor and texture and saves you the most laborious task in this whole process. It's honesly WAY better with the skin on, plus the red, green and yellow colors will add an interesting look. Squeeze 1/3 a lemon in a bowl and as the apples are cut toss them so that the flesh is covered in the lemon juice. The acid will stop the browning. Don't overdue the lemon or it will be too tangy in the end. I cut in two passes. In the first pass I cut around hte core and toss the pieces in lemon juice, then do a quick second pass to cut into smaller pieces. Then the sugar mix is poured on right after. The sugar seems to retard the browning too, so the 2 step cut lets me minimize what's exposed so I need less lemon juice. I like to cut in random sizes so some are thicker and some thinner. This will give you a variety of textures and add interest in the mouth and look. Similarly, I like to mix the breed of apples. Typically, I double up on the HoneyCrisp but the remaining 4 apples are all different - so 5 breeds total for the pie. I always use 1 Granny Smith. The green skin adds an interesting color so I never leave it out. However I've seen lots of recipes which use all Granny Smith. They are typically too tart to be the exclusive apple. I'm experimenting to find a nice yellow apple. Sometimes you can find many of these breeds with a touch of yellow and that might be enough but I'm going to try an Ambrosia Gold and Yellow Delicious. A good blend of apples will have a WAY better flavor than one kind. I don't recommend Macintosh or Red Delicious. Braeburn used to be my goto apple but I've moved away from it. SugarBee sounds good but the ones I've had are not as sweet.
- Juice of 1/3 lemon
- 1100g of Apples (Measured after coring)
- 2 Fuji - Overall the best apple for pies
- 1 Granny Smith - Don't overdo these because they are too tart for a whole pie.
- 1 Ambrosia Gold or Yellow Delicious or other, for color. Use more skin than flesh as neither is the best.
- 2 More. I've used Honey Crisp (good but overrated), Gala, Rome, Pink Lady, Braeburn, Jonagold, Scripps Pink
- 110g Butter
Here are the top 10 reasons why this recipe is different, and I think much better, than almost all apple pie recipes online:
- Single Apple - Most recipes call for using just 1 kind of apple. It will have a more complex depth of flavor if you use multiple in each pie
- Apple Choice - Most recipes are calling for Granny smith which is too tart and few recipes mention Fuji, which is overall the best
- Too Uniform a Cut - There's a common mistake in a lot of recipes for pies and many other foods, that everything should be even. It's just the opposite. If food is too uniform in, each bite is the same and subconsiously, the food becomes boring. Instead, each bite should be different, leading to a surprise in every bite. I stress this over and over with my pizza cooks.
- Peeling the apples. This kills the color and the texture, plus it takes forever. My main complaint is the texture. A mix of textures, including some with skin and some without will create a far superior mouth feel.
- No Spice Blend - Most recipes call for cinnamon only. Yes it's easier, but it's just not as complex a flavor.
- Corn starch to thicken - Starch is almost always a cheat, whether in pan sauces, pies, etc. It's just never as good. It's easy, because it guarantees a quick unifrom thickening. But it's a cheat.
- Single Fat Crust - While I'm not 100% opposed to an all-butter crust, I think you'll find that a mix of crisco and butter is best.Some people swear by lard, but it's gamey and not as good for sweet pies. The main problem with most recipes is that they are choosing a single fat crust for simplicity, and this shortcut affects the results
- Too much water in the crust - My pie will never win look as good as some. Adding more water and not properly layering the fats results in a crust that's smooth and looks great and is create for decorating cool shapes. But at the expense of taste and mouthfeel. I'll take taste any day.
- Egg or cream wash - I just don't get the taste benefit of these. Eggs have a nice sheen but an off putting flavor. Kinda kills it for me. Sugar and water is just better
- Raisins - this one is a personal preference, and some disagree, but it adds another texture and flavor variety that adds to the depth of flavor overall.
For Cherry Pie I just mix
Lots and lots of regular cherries that I pit while wearing the oldest junkiest t-shirt I own and I do it outside so that my whole house is not sprinkled with red cherry juice. This takes forever, even with a good pitter.
Sugar
Almond Extract
Lemon juice if needed (taste and see if it's too sweet)
Add the filling and and then dot the top of the filling with lots of butter. Then roll the top on.
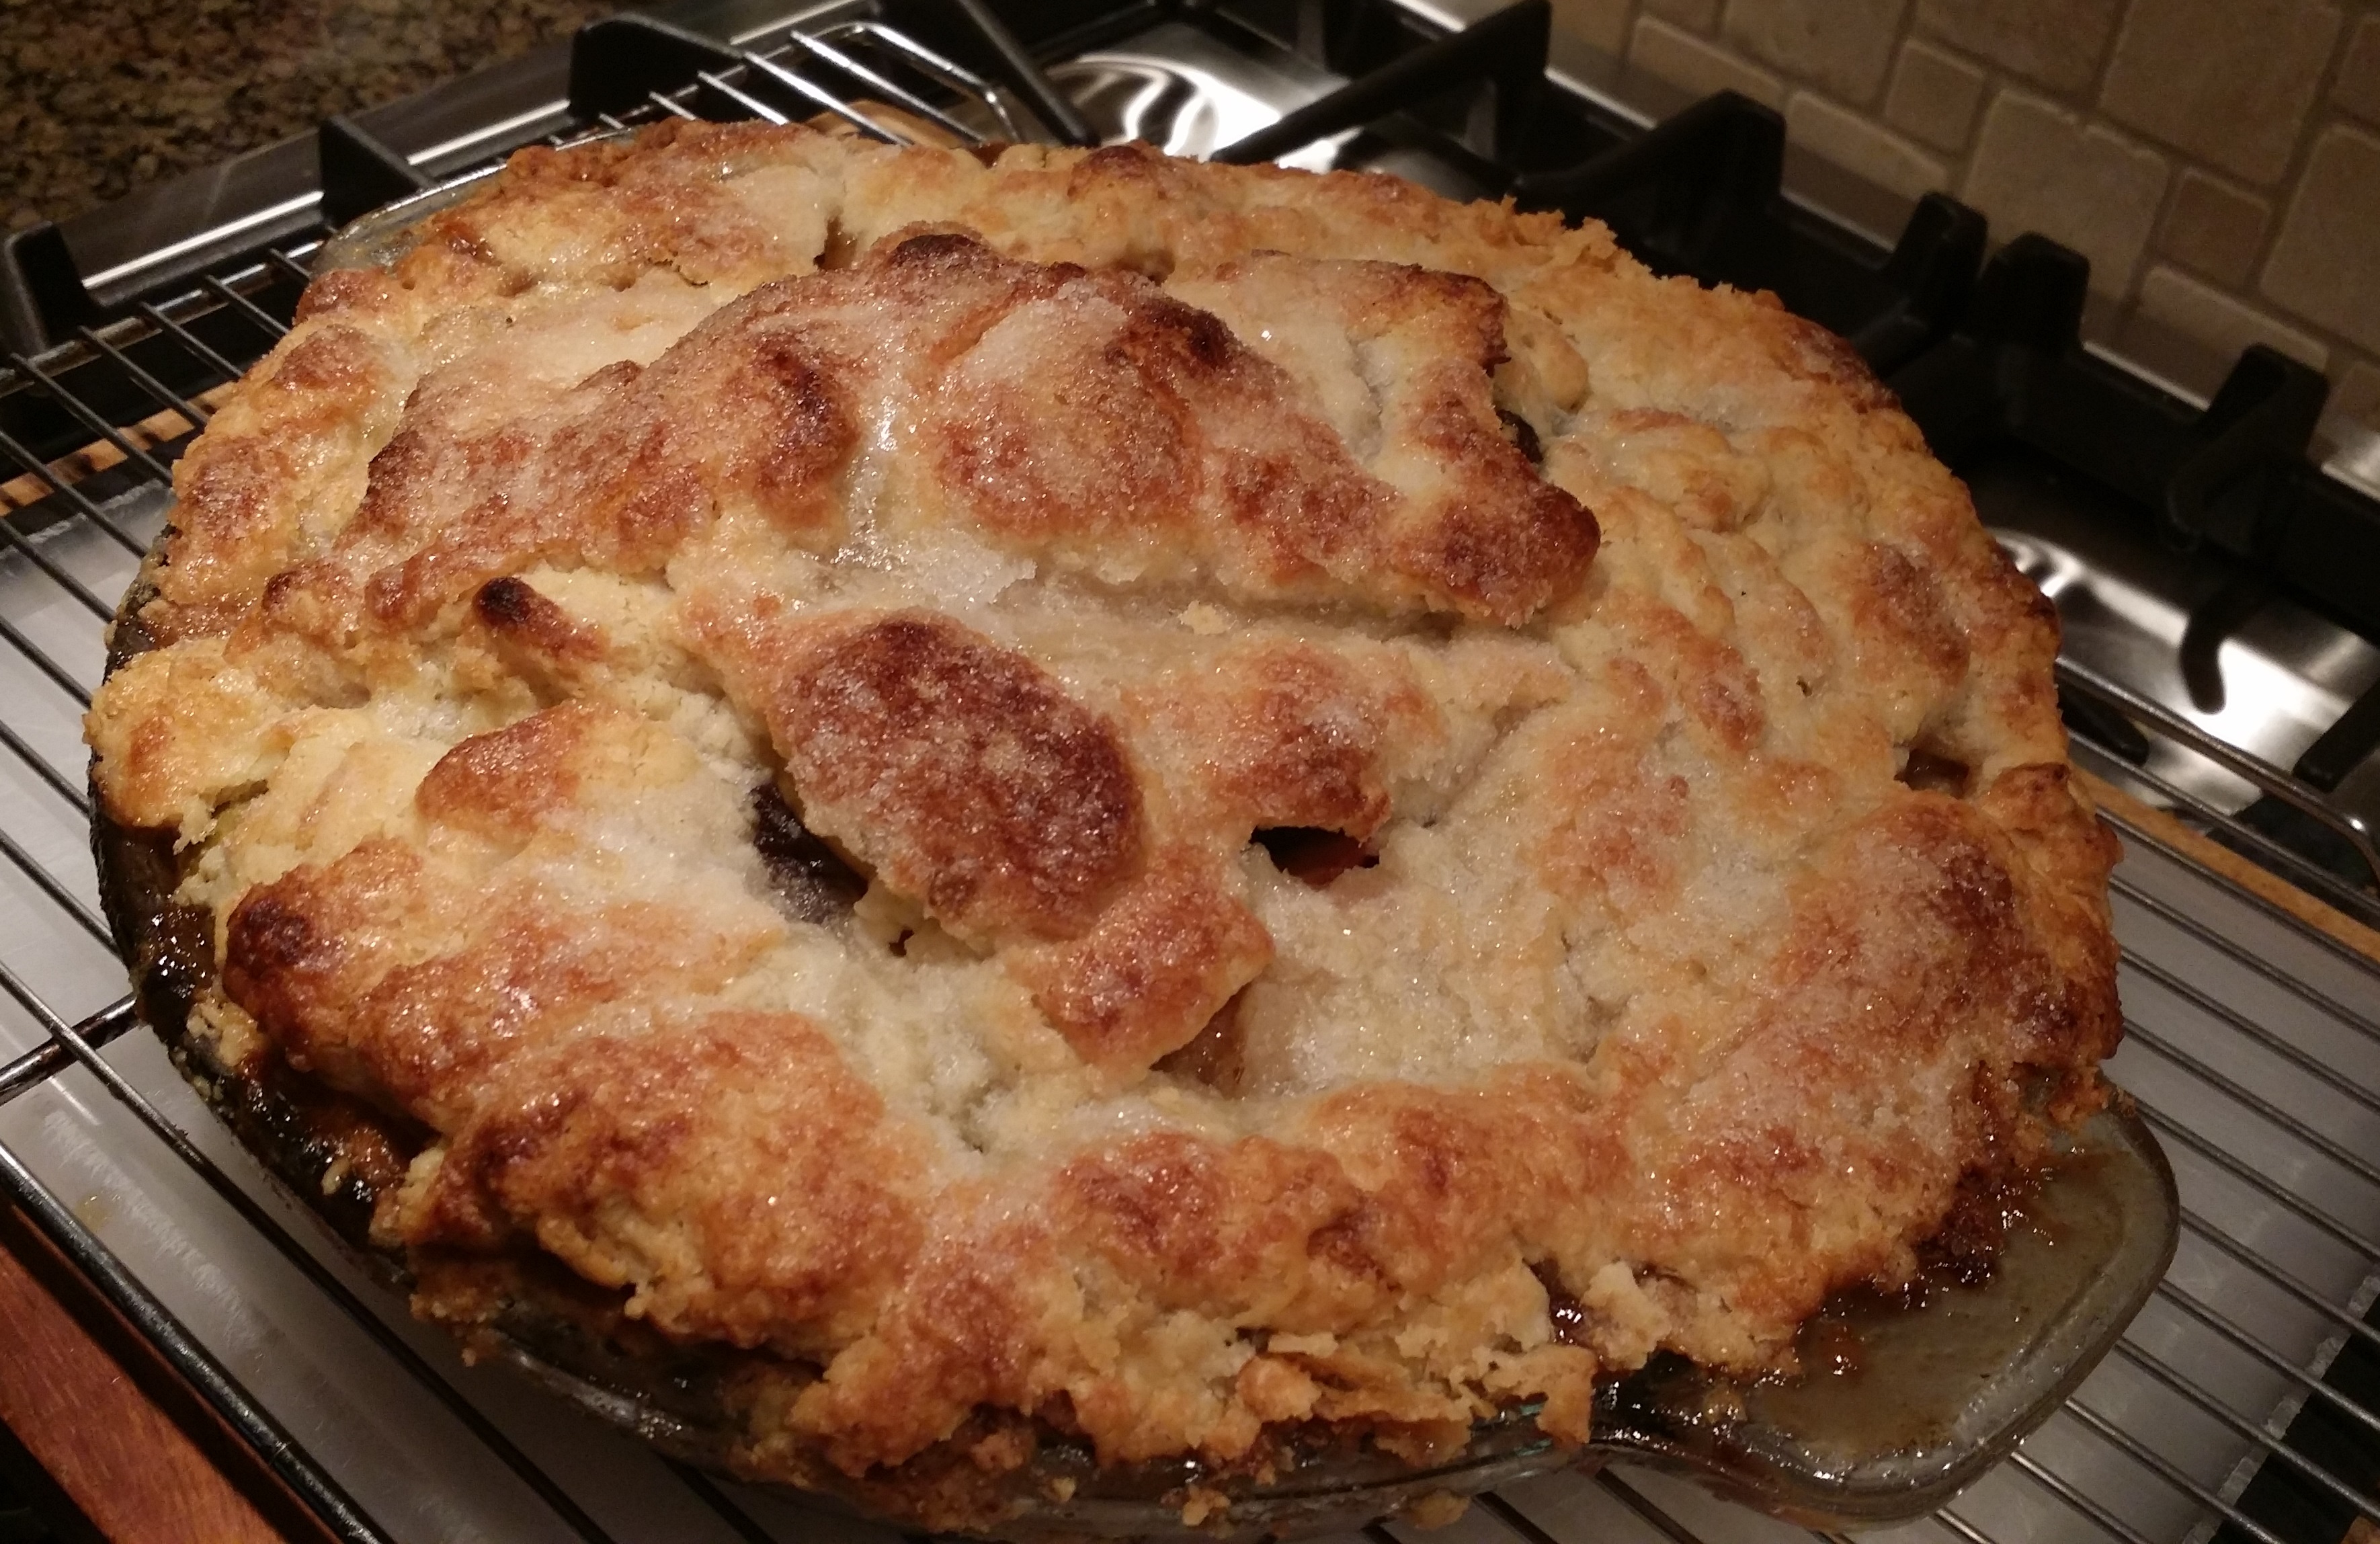
Poke a few holes. Brush with WATER (not
cream or egg). You can also just wet your hands and rub the water on, or spray it. It should be pretty wet. Then sprinkle generously with sugar. You want enough water so that that sugar it visibly wet but not fully dissolved. If there are swaths of dry sugar spray lightly with water. .
Bake on a silpat or parchment lined sheet pan. Bake hot at 450. then drop the temp half way thru to 375. Keep some foil on the edge
for the first half of the bake, then remove to let the edge brown. Remove
pie when the center has some brown color and you see the filling bubbling thru. If it's not bubbling, the apples may still be too firm. Again, don't under bake. The total bake time is about 70 minutes. If it's bubbling in the center it's done.You should be able to stick a knife in the pie and feel almost no resistance from the apples at that point.
That's it. Cool and Serve. Good Luck.
Jeff